|
How To Make A Box File Layout
This page gives an outline of how build a box file layout.
It concentrates in general on a single oval box. Obviously
I'm not about to give all the 'secrets' away! However, the
points below should give anyone thinking of 'having a go' a good
start...
- Before a box file layout can be made an amount of planning is
required, but before that an idea is needed!
- Oval layouts require a box at least 10.5" depth.
Foolscap boxes are too narrow. I use Q-Connect boxes
- Each box has a baseboard fitted, using 5mm foam board.
This is painted with emulsion.
- I use Kato track (from Japan), 117mm radius curves, the
smallest radius available
- Power enters the box via the rear using two banana
sockets, from these wires go to the track
- Analogue controllers are used with banana plugs fitted
for connection to the box
- Test the track before fixing!
- Glue the track onto the foam board.
- Before going further, you may want to fit a background
picture to the lid and back wall.
- If you require hills, etc, build this up with layers of
foam board to form the hill. Skim the hill with polyfiller or
the like, thinly,
- Paint the hills to seal them.
- Tunnels and cuttings: The curves are tight, make sure
your locos and wagons will clear the hillside and tunnel
entrances.
- Buildings: What you use is up to you. I tend to use
Metcalfe Models because they are so good, and easy to adapt.
- Remember, the maximum height in a box is 65mm, or the
lid won't come down!
- Fix the buildings once you are happy with their positions.
- You may want to make some walls, or acquire hedges and
fences. Many are available
What Locos And trucks To Use
- With an oval, you can only use very short wheel based
locomotives and wagons.... The Flying Scotsman is definitely
off the menu!
- 03/04 Shunters work well. The Dapol Terriers also work
but be warned they tend to have a gearing problem if run for
too long!
- The Kato Pocketline series is very good for these box
files, and very affordable.
- Small short wagons only!
End-To-End In Boxes
- My End-To-End boxes are several boxes with cut outs for
the trains to pass through.
- The same principles as above are used, but you have move
flexibility:
- Foolscap boxes can be used.... They are a lot cheaper!
- Standard British track (i.e. Peco) can be used as no
really tight curves are required
- Longer locos, trucks and coaches can be used.
The Rest Is Up To You!
That's it, the rest is up to you! I've not given all the very
fine details, after all I had to work it out for myself, so have
a go and see what happens.
If you have been inspired to try a box for yourself by what
you have seen on this website, or by seeing the boxes at the
various exhibitions Moor Boxes now get to then I guess my work
here is done!
The Moor Boxes Golden Rule: If you do 'have a
go' after reading all this, you have to
send me a photo of what
you made!!
Just one more thing... Please, don't copy like-for-like any
of the boxes I have made. I took a lot of time thinking them
through. Half the fun is designing your own anyway.
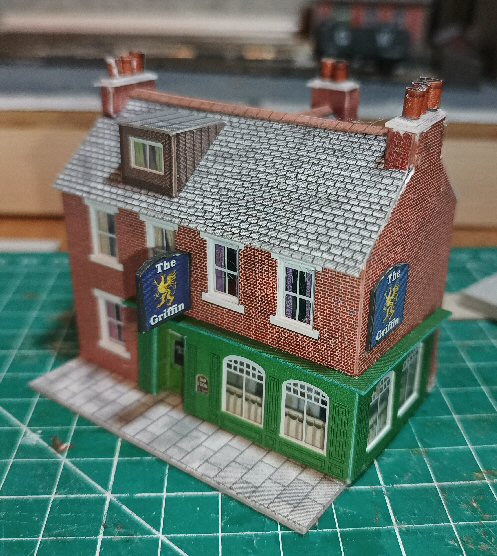
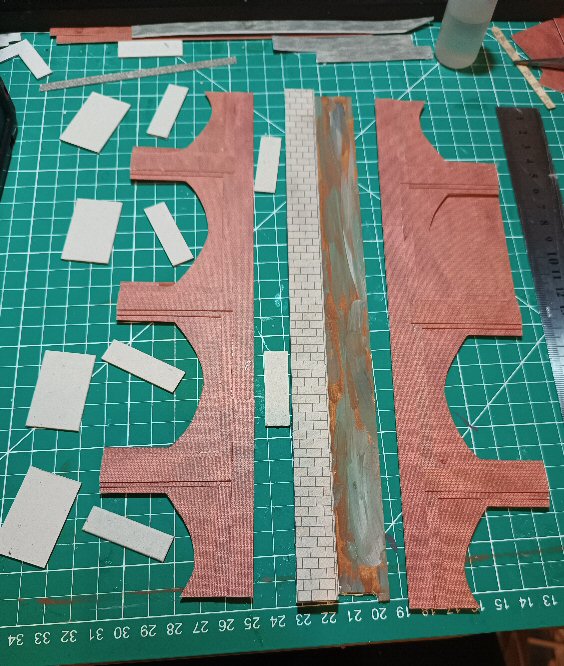
The pub started life as a Terrace House Semi, but was adapted into the local pub.
The Aquaduct was built from scratch from Metcalfe's builder sheets of card
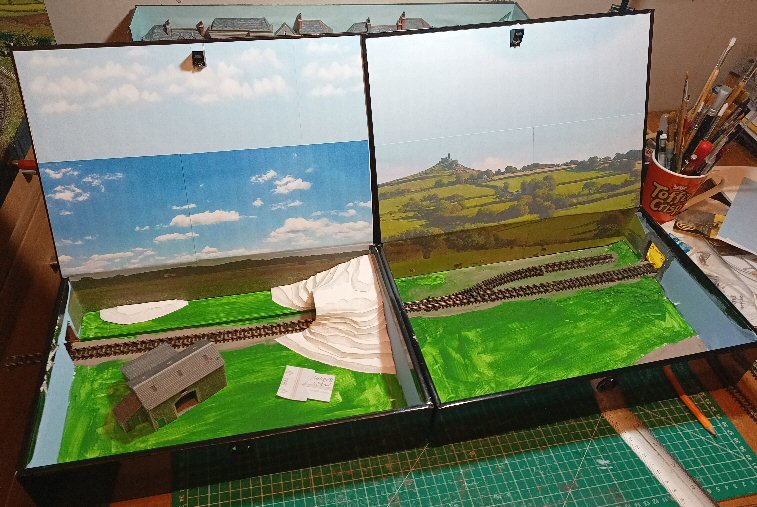
Early days for the Farm and Holiday Park boxes
The bases have been painted, the backscenes added, track fixed and the hill has been formed
|
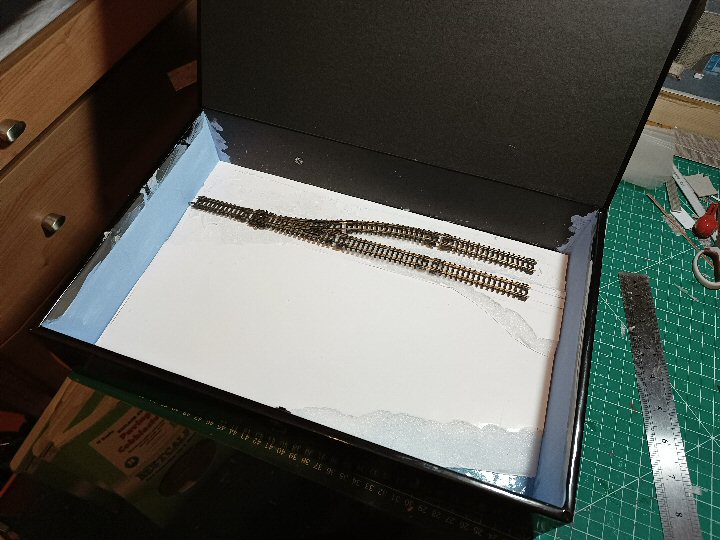
The base board is fitted, track laid to test
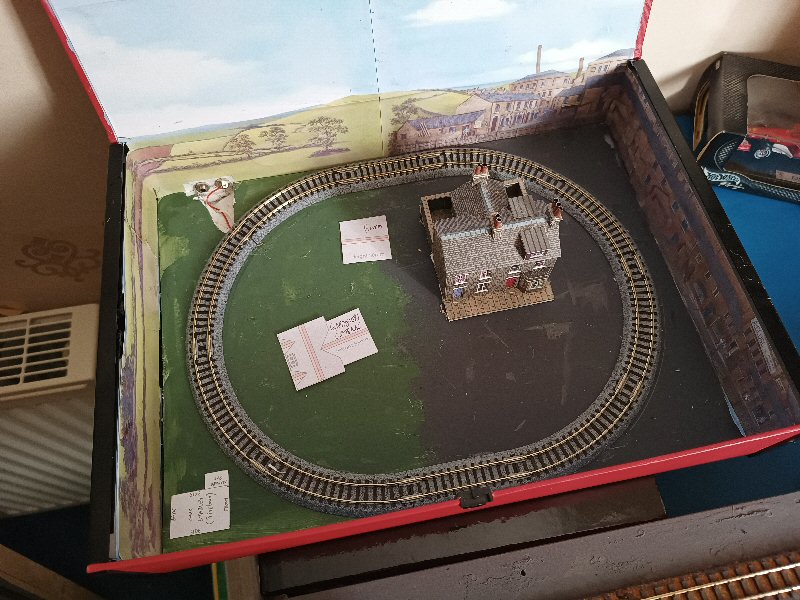
The track is fixed and wired. Building footprints are used to check for room
|